About Me

My photo
I've been into dollhouse miniatures since the early 1990's now and when I realized how much I've learned during that time, I thought I'd make a blog to share my knowledge with others. I'm mostly auto-deduct, but always found help on the Internet and in specific books. The mini-world starts and ends with your own imagination, so let there be no limit. And never say : I CAN'T .... because you can, you just need to try and have the necessary know-how. And that's the main reason why I started this blog, because I wanna share what I know with newbies in the miniature world or anybody else who might be interested in sharing what I've learned so far. So, hopefully, I'll be able to provide some useful hints, tips and tricks for those of you out there just starting with this wonderful hobby

Search This Blog

Blog Archive

December 8, 2014

GARDEN COTTAGE : Adding details

Hello my mini friends

Good to see you again. 

As you know, a miniature project is never really finished, isn't it. And just like everybody else, I just love to add all sorts of details to my mini scenes, because I think this is what makes them come to life. Sometimes, these details are hidden to the eyes of those who look at my creations, but I know they are there and that's what counts. That's probably the reason why I sometimes live in my dollhouses .... in my dreams

I hope you don't think I'm completey nuts now, don't you 

πŸ˜ΈπŸ™€πŸ˜ΈπŸ™€

So here are just a few examples of what I mean by adding details and finishing touches


Since this cottage has only very little space, I needed to find solutions on where to stock things, like magazines f.ex. ..... and this little chest came in handy


Almost everything you see in this pic are DIY items and these little details are the most important finishing touch you can give to your miniature creations


A jug, a few candles, a little pot


A table cloth with matching napkins (DIY of course), neatly arranged on top of the chest that contains the magazines.


Another chest used as a bar


The wall shelf and the top of the dresser are full of DIY items, except for the old telephone


My 1st try at making a sofa myself


Changed the pillows though .... made these too


 Adding some shabby chic details with lots of roses


Made a little shopping basket with some new table cloths


Gave this old garden bench a new look by painting it red, adding some dots and new 
cushions .... and I made a magazine to be read once the bench has found it's place in the garden


I made this little table and the plant, as well as the decorative item in the front


Made the little tray too


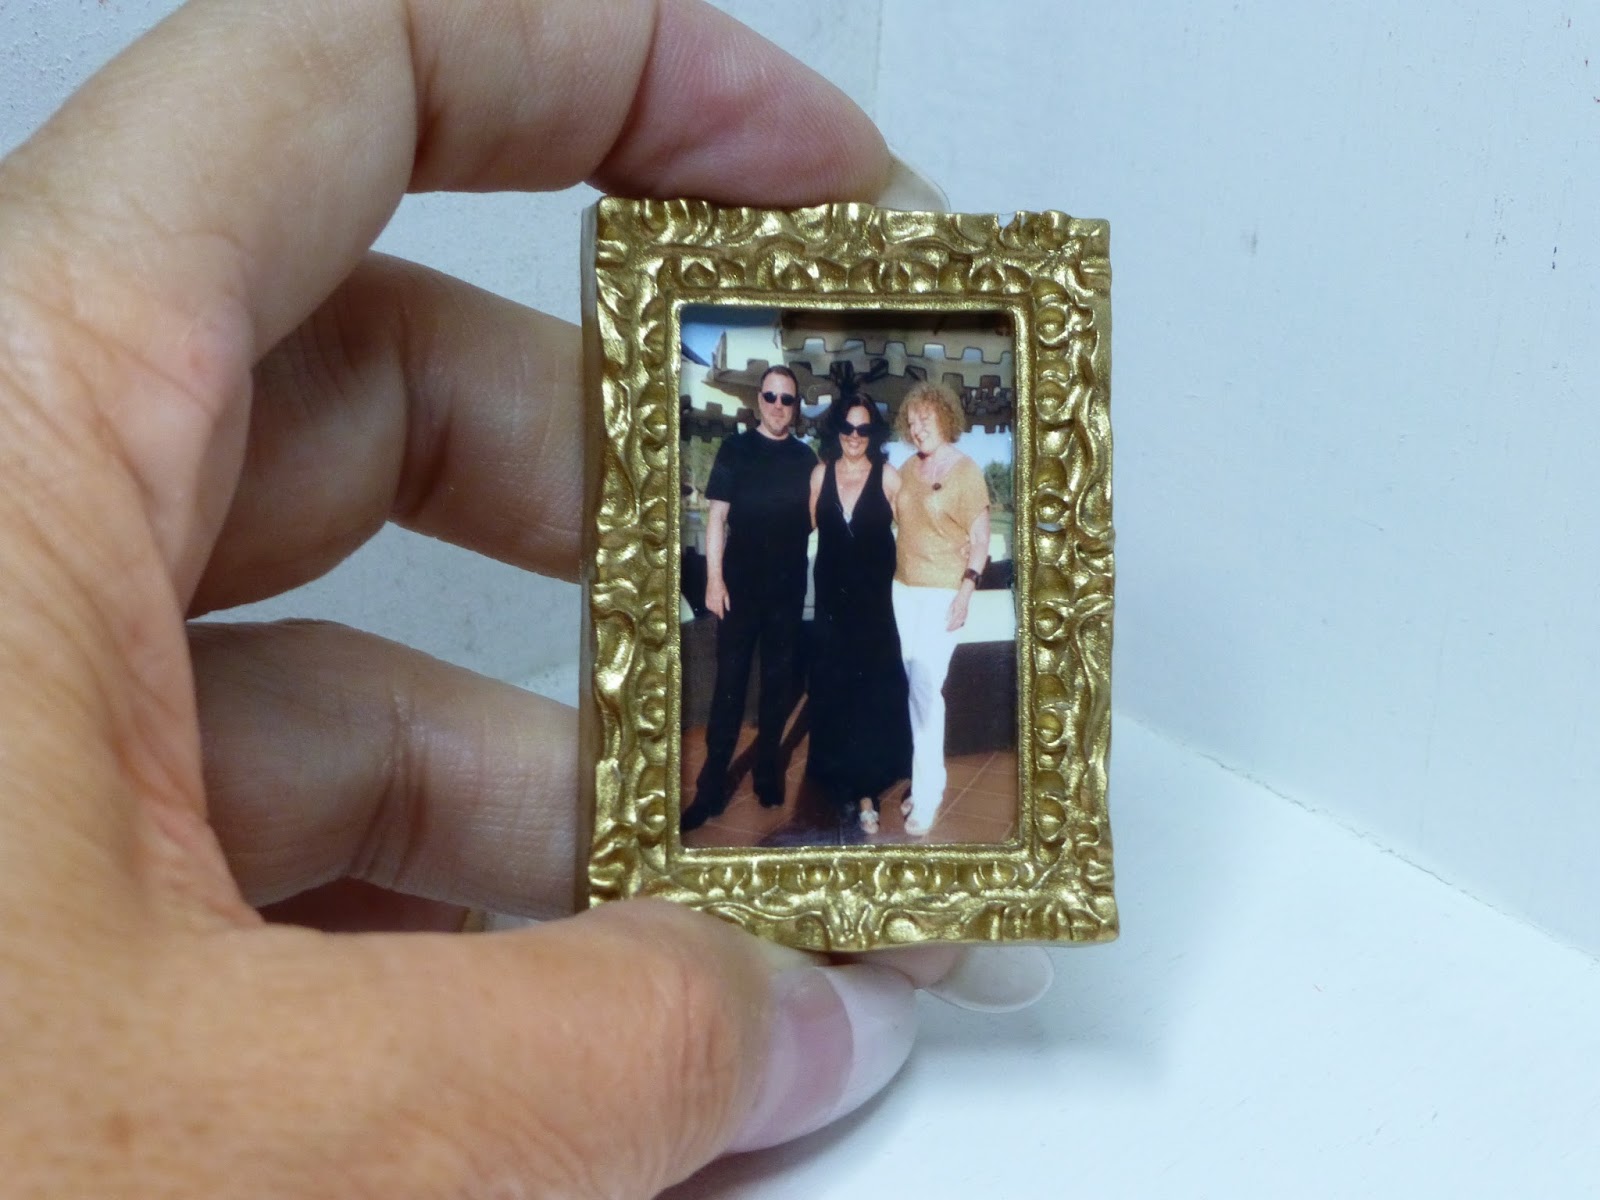
And a real personal touch is to add a real picture .... this one shows Evelyne, my friend who's gonna get this garden cottage for her birthday, my hubby and myself during a vacation

There is more to come, so stay tuned
See ya sooooooon I hope
πŸ‘€πŸ‘€πŸ‘€

July 13, 2014

BEACH BAR/RESTAURANT/SHOP : Adding Details

Hello 

Nice to see you've found your way back to my blog, so welcome again

Here are a few more pictures of my beach bar ..... I thought you might wanna see what I added to make it look more realistic.

Let's start with the champagne bar upstairs .....

This is going to be the big opening party, that's why you see all the champagne bottles and ready filled glasses ..... I kept the table very simple in white, just added a few shells which I also painted white and added a little silver touch on top


In the second picture, you see the other little tables (I made 3 of those) which I painted green to go with the carpet (which is a piece of real life size wallpaper by the way). I also have a table ready with water and sandwiches, again for the big opening party .... just in case my guests will have a little too much champagne :-)


When I started this "beach" project, I bought a bag of sea stars, and here are a few which I painted white, added a few red dots and I glued them on the wall for decoration purposes only


I also found some sea horses, fishes and other stuff, all in a very small size and simply made of plastic (bendable, very soft) .... I had to paint them in silver of course, but they make a cut little addition to my decoration


A nice bottle which I made myself ..... with glass beads (they already had the shape of a crystal bottle) and swarovski beads for the top


Here are the fishes I talked about earlier, also painted in silver and glued to a piece of net. I thought it would be nice to glue this in front of the round window, because when you look from the outside, it's like an aquarium :-) ..... just a funny thing


This is while I was painting these little plastic figures .... and sea shells and sea stars, as well as a basket I made .... I found those little things on Amazon, really sheap stuff and once they're pimped up, they look great for all sorts of mini projects.


This is Pete, he's talking to much, lol ..... but entertaining the guests with his singing and whistles ... and talking of course (I gotta be careful whom he's listening too, I noticed that he learned a few naughty words)


ENJOY THE TOUR and as usual ..... don't hesitate to ask if there's something in particular that you might wanna know

just drop me a line at this email : dmzminiatures@gmail.com

See ya .....

πŸ‘―πŸ‘―πŸ‘―


July 12, 2014

BEACH BAR/RESTAURANT/SHOP : Installing the Lights

Hi there

I must admit, ever since I started in miniatures, I had trouble with the lighting 
All this fiddling around with these tiny wires .... pffff, really not my thing
I'm pretty sure some of you guys out there do understand what I mean and probably feel the same

It's a fact that a fully lit dollhouse or roombox looks moke 'alive", more realistic even than one without lights, but still .... I have to admit that it's definitely not my favorite part

BUT I DID NOT GIVE UP, despite all the problems I had to face

Nevertheless, I tried to add lights to my beach restaurant and bar and so far, they seem to work .... but usually this never lasts long. I'm pretty sure that the next time I'll try to light it up, one or another will probably no longer work

But as long as the happy moments lasted, I took some picture which I wanted to share with you

By the way, the champagne bar upstairs has changed a bit, I added some more accessories .... pics will be coming up soon :-)

And as I always say : Giving up is NOT an option !!!


See ya
πŸ‘€πŸ‘€πŸ‘€

May 19, 2014

BEACH BAR/RESTAURANT/SHOP : Making items for the beach shop

Hi again

Before I start with a new mini project, and once I've decided what it's gonna be of course, the first thing I do is trying to get ideas on what I'll need for my projects and most of all, on how I can make the items myself

Since one part of my double project here is a beah shop, I needed to gather some ideas what I'd like to sell in that shop, what kind of items people who spend their day on the beach, might need.

So I thought it might be nice to have a few kites to sell, I guess a few kids would want to have one to play with on the beach


Here's a picture of the finished shop, with the kites neatly displayed on the side


I also made a few wind mills, which is always a nice thing to have for the kids when spending a day on the beach. After I finished them, I put some polymer clay in a bucket and glued them into it. Just added a little glue on top and put some sand on it. I thought this would be a cute way to display them in my shop


Here's to show you the size of the windmills


This next picture shows them inside the finished shop


Right now I'm working on making body boards, one is finished, 
the other one's have to be painted yet. 


I made more, and they are hanging on the back wall of the shop, so that customers can see them and choose one.


I made this little rack in order to display my hats and beach bags, all made by me of course


As you can see in the finished shop, it has found it's place on the front porch, so that the ladies can choose a hat or a beach bag before even entering the shop

Well thought πŸ‘»πŸ‘»πŸ‘»


Here's the wicker chair I made, it sits on the front porch of the shop, just behind the girl sitting there with her dog


Below is a closer view of the beach bags I made


I even made sets : Swimming suit, Bag and Flip Flops


The ideas of items to make for my shop just kept flowing 
I had these little boxes, which I just pimped a bit by adding a coat of paint and an anchor and filled them, in this case with sea stars and beach balls for the kids


At some point, I needed to find a place for the furniture and all the items I made, since this shop is a small kit and has only limited space available
So I put in some of the furniture, moved it around (more than once, believe me, I stopped counting)


Same with the items I made and/or the things that were supposed to fill the shelves


Here are the flip flops I made for my shop, you can see them in the green shelf in the picture above


This is one of the first versions, but you'll see that everything has been changed again once you'll look at the pictures of the finished project


This is a little sign I made with the name of the shop "DeeDee's Beach Shop
The palm tree and the dolphin are made from a simple punch


I found a website who sells real lifesize gardening items, but lucky for me, they also had a few miniature items, like these buckets, made of wood and some metal for the hinge
I just had to paint them, added a few flower decals and now I can sell them as beach buckets in my shop


Of course, I needed swimming caps too .... some of the older ladies don't like to get their hair all wet


I made wind brakers too, nicely displayed in a basket in front of the shop
I also made a few beach mats and since I had no basket to fit them in, I simply made one


I decided I'd offer a glass of champagne to all the customers on the day of the grand opening, so I made another champagne cooler


These flatable beach mattresses are simply made with straws 
Easy Peasy